In short: This online tool will capture screenshots in bulk for a list of websites.
Click to view the example data file for a better idea of the output.

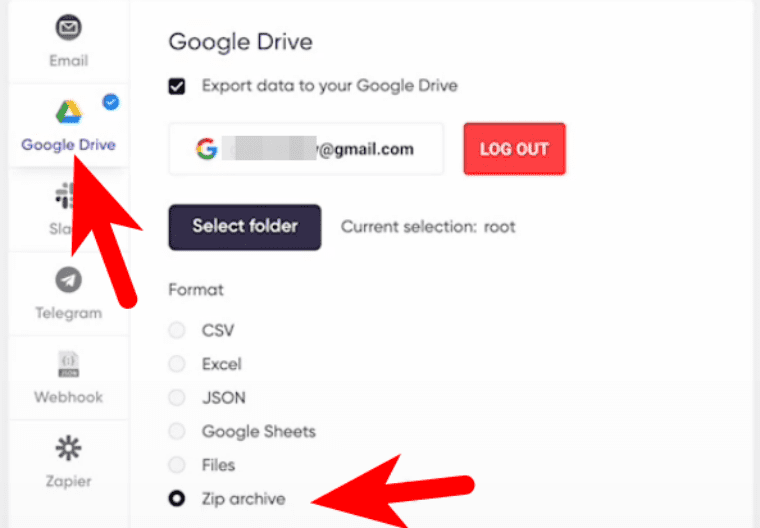
To save the screenshots to your computer, select "Google Drive" on the bot's start page and tick "Files" or "ZIP archive".
How to use the bulk url screenshot maker: Video tutorial
Watch a quick guide on how to launch the bulk website screenshot maker into action:
Why use the bulk screenshot tool for business
Our fast and simple bulk website screenshot tool can be used for multiple business-related purposes, such as:
- Site audit
- Competitor analysis
- Visual check of websites for potential collaboration or outreach
- Checking if your website content is displayed correctly
- Checking how your site’s pages display on screens with different parameters
- And much more!
This bot uses a batch script to take screenshot automatically from multiple websites. It can easily grab the following details:
- URL
- Screenshot URL
- Preview
How to use the bulk URL screenshot maker online
- Sign up on Botster
- Go to the bot's start page
- Enter website links. Each link must go on a new line.
- Select the browser type.
- Specify screenshot length.
- Select image extension.
- Specify the location.
- Set the wait time.
- Specify if you'd like to export the screenshots as a ZIP archive.
- Click the "Start this bot" button.
That's it – the bulk URL screenshots maker has started working!
Problems with displaying on-screen images
Our screenshotting tool is built on JavaScript. JavaScript-based web screenshotting tools often face issues displaying images in screenshots due to several reasons:
Loading Times: Web images take time to load, especially if they are large or the internet connection is slow. You can try increasing the Wait time of the bot to solve this problem.
Cross-Origin Resource Sharing (CORS) Policies: Browsers enforce CORS policies for security reasons. If the web page is trying to load images from a domain that does not allow cross-origin access, those images might not load correctly.
JavaScript Execution: Some images on modern websites are loaded or rendered through JavaScript. If the JavaScript fails to execute correctly, or if it's executing asynchronously and hasn't completed by the time the screenshot is taken, the images won't appear in the screenshot.
There's a number of other technical reasons that may take place, but these are the most common ones.
In a nutshell, if the images are not being displayed even after you tuned the Waiting time, not much can be done on our end.
Software walkthrough
1. Open the Launch bot form.
Click on the "Start bot" button on the right-hand side of this page to open the spider's form:
 2. Enter the details.
Give your "Job" a meaningful title, and optionally specify (or create) a project folder:

3. Enter URLs.
Paste the URLs for the bulk website screenshot maker to process.
⚠️ Each query must go on a new line:

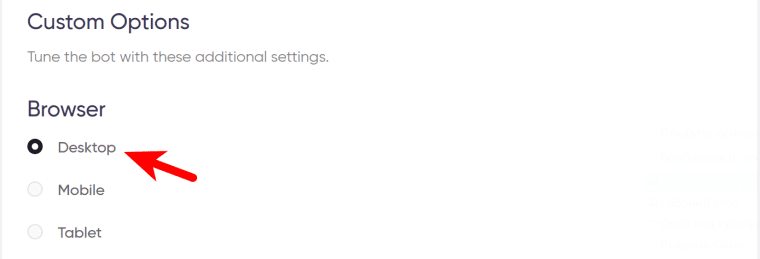
4. Select the browser type.
Site layouts look differently depending on the user devices. The bot can grab screenshots as they appear on:
- Desktop
- Mobile
- Tablet
 5. Specify screenshot length.
- Tick ‘Long screenshot’ if you need a batch screenshot capture of the whole page from header to footer for each of the URLs.
- Leave this checkbox empty if you only need to capture the part of the page that fits into one screen.
- Tick additional options if needed:
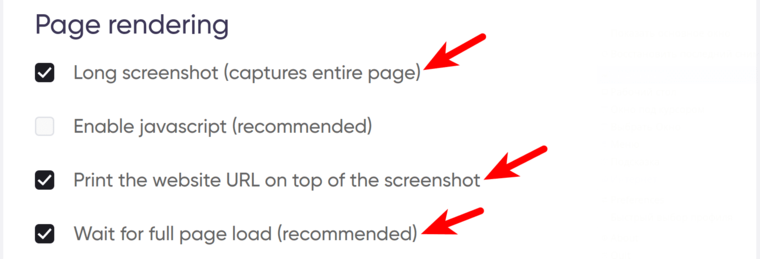
6. Enable JavaScript if necessary.
JavaScript makes specific features on the web page functional. If JavaScript is disabled in the browser, the content or the functionality of the web page can be limited or partly unavailable.
⚠️ Enabling JavaScript increases the time needed for the online screenshot maker app to fulfill your request. 7. Select image extension.
Available options include .jpg and .png:

8. Select the location.
If the site you are screenshotting displays different content depending on a user's geolocation, select the country which the bot will be sending screenshot requests from:

9. Set the wait time.
To enhance snapshot quality, set the bot to wait for a while before capturing the screen. If this option is not needed, leave a zero.

10. Specify time settings.
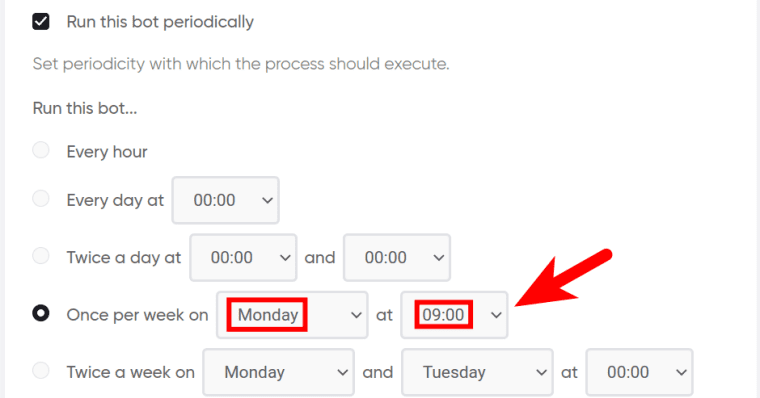
Click the checkbox if you want this bot to bulk-export screenshots regularly:

Once you’ve clicked on the checkbox, the available options will appear. You can set the bot to run:
- every hour
- every day
- twice a day
- once a week
- twice a week
You can set the job to run until stopped manually or to stop at a certain date:

Tick ‘Deliver new items only’ if you want the bot to send you updates only:
 11. Set up notifications.
Specify if you would like to receive a notification when the grabber completes the crawl:
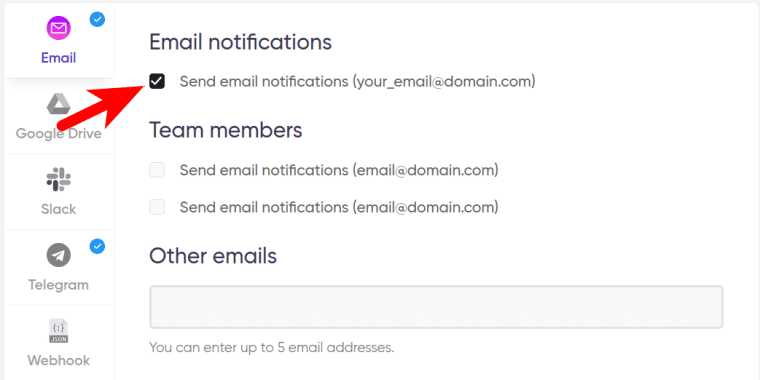 Select "Google Drive" if you need to export the screenshots as single files or as a ZIP archive:
12. Start the bot!
Click the "Start this bot" button on the right-hand side:
 That's it! You will be taken to your "Jobs" section. The batch auto screenshot maker is now working and will notify you once it's done.
Data output
After the bot completes the job you can download your data as an Excel (XLSX), CSV or JSON file.